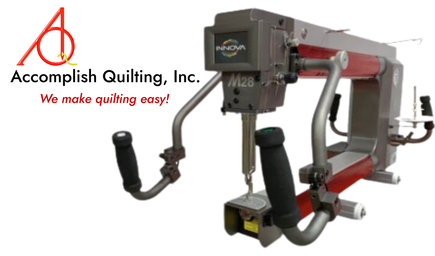
YOUR NEW INNOVA LONGARM QUILTING MACHINE
is on its way!
Get ready for the delivery! Yay, It's coming!
The day you have been waiting for.
Please make sure to read this entire page....
At Accomplish Quilting we take pride in assuring you will enjoy your machine by providing
you with the best experience possible every step pf the way.
Please remember, if you are trading in a machine, you do not need to take it apart before your new machine arrives. We actually request that you don't!
We have disassembled many machines over the years, and we have it down to a science.
It is much faster for us to disassemble and carry out the machine than it is if you do it for us. So please, keep it easy for yourself --- let us do the heavy lifting!
We've got the tools, the techniques, and the time.
You sit back and enjoy reading about your new machine --
we'll do the rest.
At Accomplish Quilting,
we make quilting easy!
It is our goal to get you quilting with your machine as soon as possible. Our staff will
provide basic training on your machine. That includes the following:
▪ Features & Benefits of Machine
▪ Optional Equipment
▪ Loading the Quilt
▪ Advancing the Quilt and Proper Tautness
▪ Using Gas Assisted Lift
▪ Threading the Machine and proper Insertion of the Bobbin Case
▪ Controls
▪ Bringing up the Bobbin Thread and Tacking
▪ Adjusting Top and Bottom Tension
▪ Channel Locks – Manual or electric
▪ Basting
▪ Using PLC, Pro-Stitch and Lightning Stitch (manual mode and stitch regulation)
▪ Free Motion Quilting
▪ Extension Base Installation and Using Rulers
▪ Synchronizing Laser / Pantographs
▪ PantoVision
▪ AutoPilot/Navigator
▪ Basic Cleaning
▪ Basic Maintenance
▪ Installing the Needle
▪ Swiveling the Head
▪ Oiling the Hook
▪ Using the Bobbin Winder
After your basic training is complete, and you have had a few days to work with your machine and get comfortable using it you should check our web site for New Owner Training Classes at the store location nearest to you. Call and schedule your class, or use the RSVP button on the web site to sign up. After you have had your machine for a few months, call and schedule your Intermediate Training, or schedule it on our Online Calendar
Machine Setup
The Innova machines require 15 amp electrical service, depending on the machine/accessories
you have ordered. The light bar and computer for the Auto Pilot require the additional service.
Please check to ensure you have the appropriate service for your new machine.
We recommend an area at least 2’ longer than your stand, and a width of 8’ to use your Innova
machine. Accomplish Quilting knows that sometimes spare rooms, quilting studios, and sewing
rooms double as storage areas in our homes Our technicians work hard to ensure that you have a
top notch installation experience. Please ensure that there is a clear path to the install area and
enough space to complete the installation.
If you are assembling the machine yourself, as you uncrate the parcels you will find a box with
the Innova manual that has complete instructions for the assembly and setup of your stand and
machine. There is also a complete set of tutorials to assist you with your setup on the Innova
website at www.innovalongarm.com.
If you have requested to have an Accomplish Quilting technician setup your machine,
please be prepared as follows:
▪ Prepare for your delivery day by watching the applicable instructional videos on the
Innova website: www.innovalongarm.com
▪ Please have a helper available that is capable of lifting, up to 50 pounds, for approx.
ten minutes.
▪ Walk down and tentatively plan the path the machine will take from the truck (or
crate storage location) to the sewing room.
▪ Decide on the location of the machine in the room and determine the direction you
want the front of the machine to face. The “front” is the custom sewing side. The
pantograph side is the “back”.
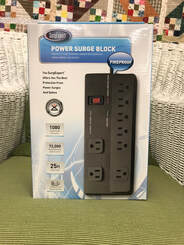
▪ Have available a 20’ electrical extension cord with a ground and a surge protector
with five outlets. (An 8 outlet Professional Surge Suppressor with a Flat Plug
including a 25 Foot Cord is available for purchase from Accomplish Quilting)
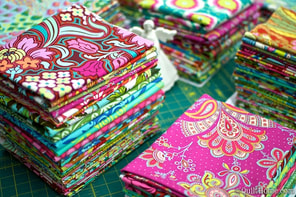
▪ Have practice fabric ready to put onto your new machine --- this is when the fun begins!
Top 40”wide x 45”long
Bottom 45”wide x 45”long
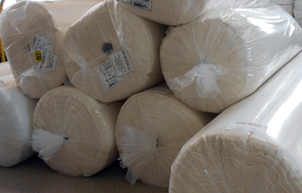
Batting 45”wide x 45”long
There are supplies that you will need for the day of your delivery.
Most of the items shown below have links to our store
Most of the items shown below have links to our store
|
Leader Grips or Red Snappers
Leader Grips (found here) allow you to set up your quilt projects without pins, staples or Velcro. The rod is placed in the (3/4" or 2 cm) casing of the leaders. Be sure to measure the leaders and order that number , not the size of the frame. Leader Grips come in 9'6", 11', and 12'.
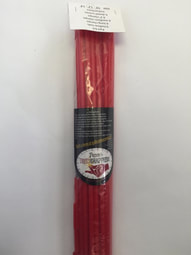
Red Snappers (found here) are similar to Leader Grips, and are a system to load quilt tops and backs on machine quilting frames without using pins, zippers or Velcro. One set includes rods, clamps and instructions for 3 rollers. This package is all you need to conveniently load your quilts. Watch our video here to see how Red Snappers can make loading your quilt a Snap! |
These things are absolutely needed for the day that your machine arrives. If you don't have these items, your technician won't be able to teach you after the installation.
We have a special starter package that you can purchase over the phone prior to your tech arriving. The kit will arrive with your new Innova!
All items above are included in this special starter package!
You are going to love, love, love your delivery technician AND your new machine!
Be prepared for the day when your tech arrives so that you have everything you need to insure that he is going to be able to teach you all you need to know to get started.
