How To Install the New Front Laser Light for the INNOVA Longarm Quilting Machines
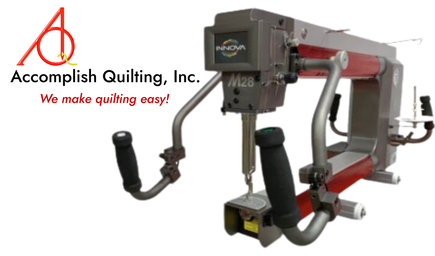
Did you know that you can now have a laser light on the FRONT of the Innova Longarm AND the back? Now it is possible with the new front laser light.
Just another way that INNOVA is innovative!
Pre-order now! If you are interested in adding the new front mount laser light to your machine, fill out the request below and we will call you.
We can take your payment over the phone now and
ship when the lights come in.
We can take your payment over the phone now and
ship when the lights come in.
ACC1198 Mini Needle Laser Light
ACC1198 Mini Needle Laser Light w/ Curly Cable and 2.5mm plug $150.00 MSRP
Please note that a Spectre LED Light assembly is required to use ACC1198 Mini Needle Laser Light.
Directions to install the Spectre LED should be followed before attempting to install this item.
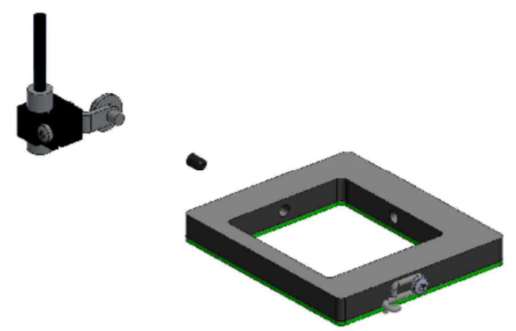
1. Assembly Step 1: With the Spectre LED installed on the Innova, remove the set screw from the threaded hole on the left side of the Spectre LED.
Step 2: Install one of the provided shorter set screws in to the threaded hole on the left side of the Spectre LED and tighten it firmly.
Step 3: Attach the Mini Needle Laser Light bracket on to the left side of the Spectre Led using the provided Phillips head screw.
Step 4: Install the laser in to the laser mount. Gently tighten the screw on the mount to hold the laser.
Step 5: Connect the 2.5mm plug to the power receptacle, Y-splitter or Tri-splitter on the left side of the top beam.
Step 6: Turn ON the machine.
Step 7: Align the Mini Needle Laser Light to shine directly through the needle hole of the needle plate.
Step 8: Tighten all the screws on the Mini Needle Laser Light to maintain position.
If you have any questions or issues in installing the front laser light, please call any of our stores.
We will be happy to help!
We will be happy to help!


